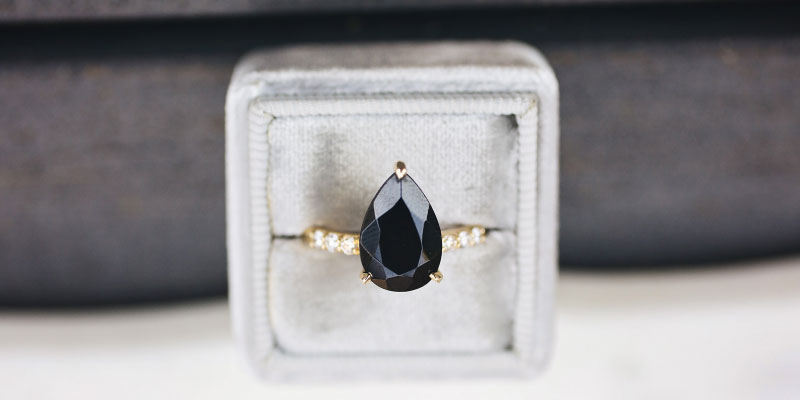
Proposing marriage is one of the most significant moments in a couple’s life, and presenting the engagement ring in a unique and personalized way can make it even more memorable. A DIY engagement ring box offers an opportunity to create a distinctive presentation that reflects your relationship and personal style. Crafting your own engagement ring box adds a heartfelt touch to the proposal, ensuring that the moment is both beautiful and unforgettable.
Choosing the Right Materials
The first step in creating a DIY engagement rings box is selecting the materials. Your choice of materials will depend on your personal style and the overall theme of the proposal. Some popular options include wood, fabric, leather, and even recycled materials. Wood is a timeless choice that can be carved, stained, or painted to match your vision. Fabric can add a soft, romantic touch, while leather provides a classic, elegant look. Recycled materials, such as old jewelry boxes or vintage containers, offer a unique, eco-friendly option.
Designing the Box
Once you’ve chosen your materials, it’s time to design the box. Consider the size and shape of the engagement ring, as well as how you want it to be presented. A classic rectangular box is always a safe choice, but you can also opt for more creative shapes like hearts, circles, or even a miniature treasure chest. Sketch your design on paper before starting to ensure that you have a clear plan.
Crafting the Box
With your design in hand, it’s time to start crafting. If you’re working with wood, you’ll need basic woodworking tools like a saw, sandpaper, and wood glue. Cut the wood to your desired dimensions, sand the edges smooth, and assemble the pieces with glue or small nails. For a fabric-covered box, you’ll need cardboard or thin wood for the structure, fabric for the covering, and a hot glue gun to attach the fabric securely. Leather boxes require cutting the leather to size, sewing or gluing the edges, and adding any decorative elements like embossing or stitching.
Adding Personal Touches
The beauty of a DIY engagement ring box lies in the personal touches you can add. Consider incorporating elements that are meaningful to your relationship. This could be anything from your initials or a significant date to symbols that represent shared interests or experiences. You can also add decorative touches like ribbons, lace, or beads to enhance the overall look of the box. Painting or staining the box in your partner’s favorite color can also add a personal touch.
Creating the Interior
The interior of the engagement ring box is just as important as the exterior. Line the inside with soft materials like velvet, satin, or felt to provide a luxurious cushion for the ring. You can create a small slot or insert to hold the ring securely in place. If you’re feeling particularly creative, you can even add a small light or music mechanism that activates when the box is opened, adding an extra layer of surprise and delight.
Final Touches
Before presenting the engagement ring box, make sure to give it a thorough once-over. Ensure that all elements are securely attached and that the box opens and closes smoothly. If you’ve painted or stained the box, make sure it’s completely dry and free of any sticky residue. Finally, practice opening the box to reveal the ring, ensuring that the presentation is seamless and perfect.
Creating a DIY engagement ring box is a labor of love that adds a personal and unique touch to your proposal. By carefully selecting materials, designing with intention, and adding meaningful personal touches, you can craft a one-of-a-kind box that enhances the beauty and significance of the engagement ring. This thoughtful gesture will not only make the proposal moment unforgettable but also create a cherished keepsake for years to come.

